 Transcripts
Settings
Open Settings from the menu-bar menu. Six panes.
General
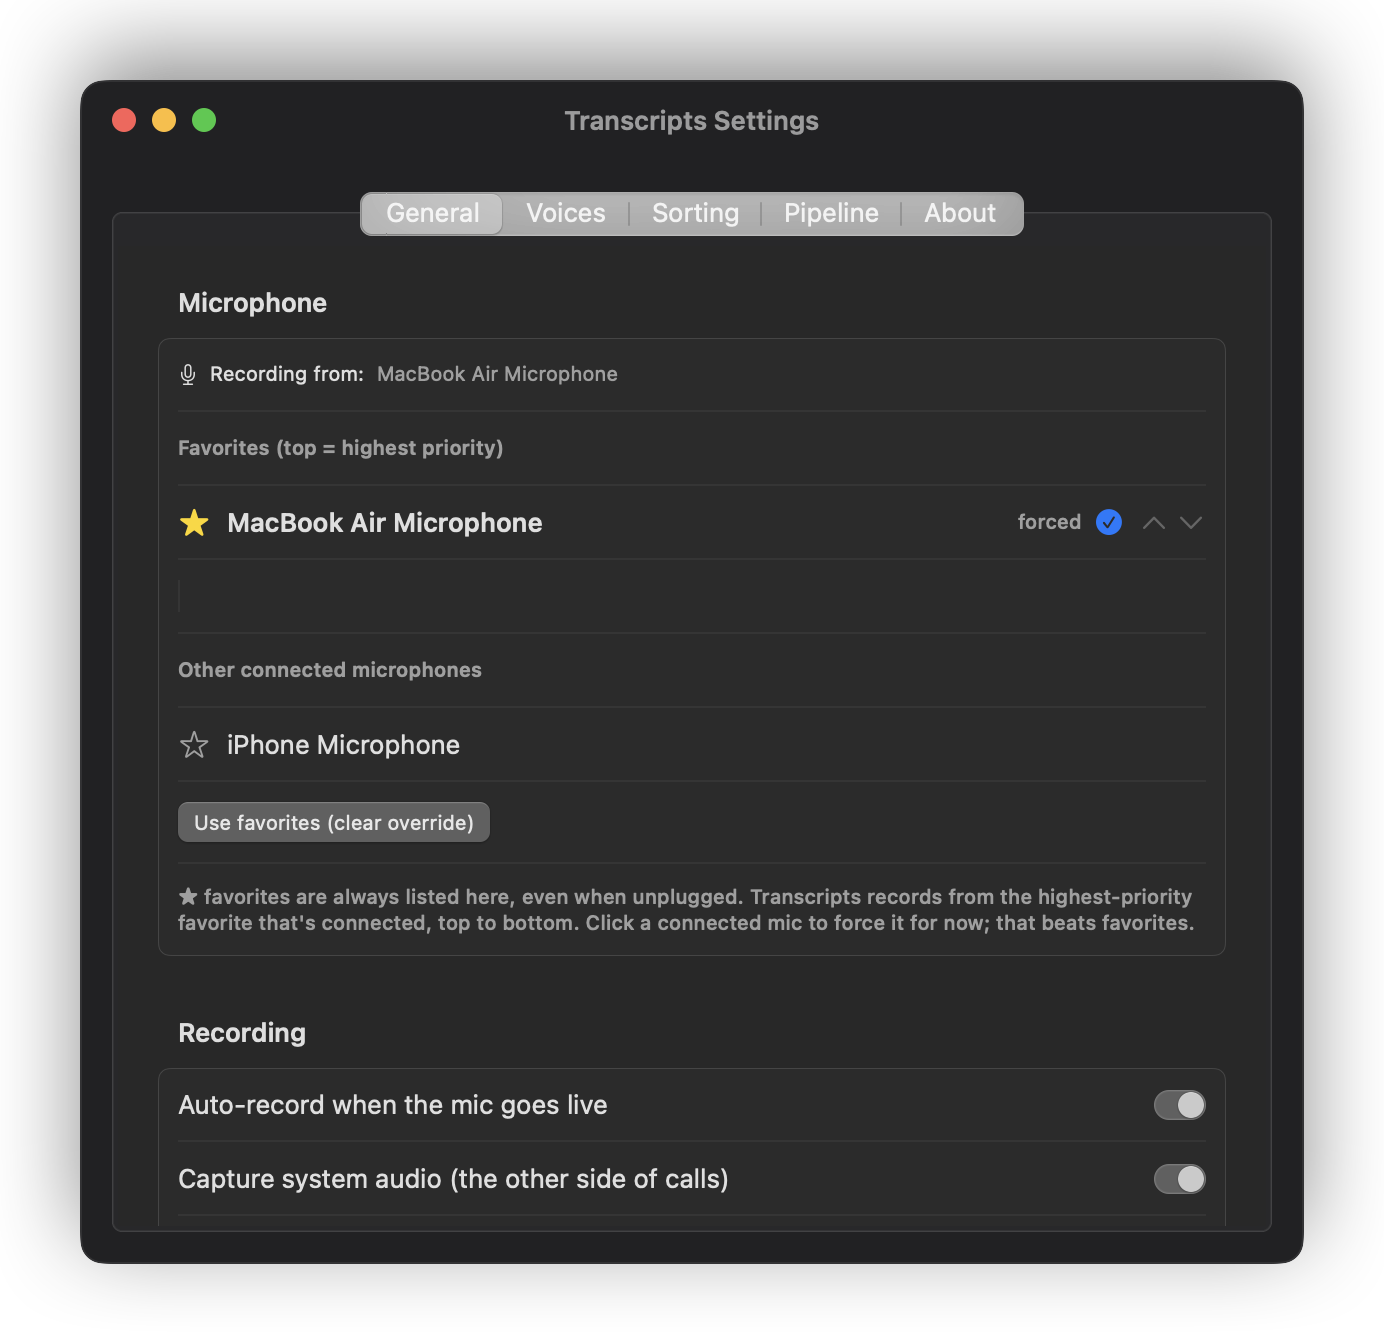
- Microphone — your input, and a preference order. Transcripts picks the best available one, so a headset takes over when you plug it in and the built-in microphone resumes when you don't.
- Consent mode — one-party or two-party. See Recording.
- Auto-record — watch for calls and start on its own.
- Capture system audio — record the other participants as well as you.
- Launch at login — start with the Mac.
- Menu bar icon and recording colour — how the menu bar shows what Transcripts is doing, and the colour it turns while recording.
The default is transport, borrowed from a tape deck: a square when stopped, a hollow record light while auto-record is watching, and a filled disc while rolling, with a ring around it that swells with the input level. Three different shapes, so the state is legible from the corner of your eye.
Also on offer: the Transcripts mark (a line of text over a waveform, after the app icon), a plain waveform, or a microphone. These keep the older behaviour of one shape that dims when auto-record is off, shows solid while watching, and pulses with the input level while recording.
- My microphone records a room — for an in-person meeting, a game night or an interview, where several people share one microphone. Transcripts splits that track by voice rather than treating all of it as you, and each voice can be named. Detected calls are left alone: there the other side is captured on its own track, which is better evidence than any clustering.
More voices than people is normal. Someone doing an accent genuinely sounds like someone else, and several voices can be named as the same person. The slider leans towards splitting for that reason — two people merged into one voice cannot be separated afterwards, while one person split in two can.
- Recent recordings in menu — how many to list. The Recordings window always shows everything.
Destinations
Where recordings are filed, and where the Mac watches for phone captures. Both default to iCloud Drive/Transcripts when iCloud Drive is available. That is what the iPhone and iPad read their library from, so it needs to be a folder every device can see.
Obsidian. If you use Obsidian, Transcripts finds your vault on first launch and files a copy of every finished transcript into it, in the same folder Sorting routed it to. It is a copy, not a move: your devices keep reading the iCloud library, and your notes get the transcript. Only the markdown is mirrored — the audio stays in the knowledge root, so a vault carried by Obsidian Sync doesn't fill up with recordings. Pick a different vault or clear it in Settings ▸ Sorting ▸ Obsidian; cleared stays cleared.
When you choose one of these folders, picking a whole cloud drive (iCloud Drive itself, or OneDrive) means the Transcripts folder inside it, the same folder the iPhone and iPad app uses. It is created if it isn't there. Pick any other folder and that folder is used as it is.
Changing these does not move anything already written.
In the Mac App Store edition, every folder here is one you choose in a file dialog, which is what gives the app permission to use it. Typing a path is not enough, and it does not find your Obsidian vault by itself: choose it here. See Mac App Store or download.
Sorting
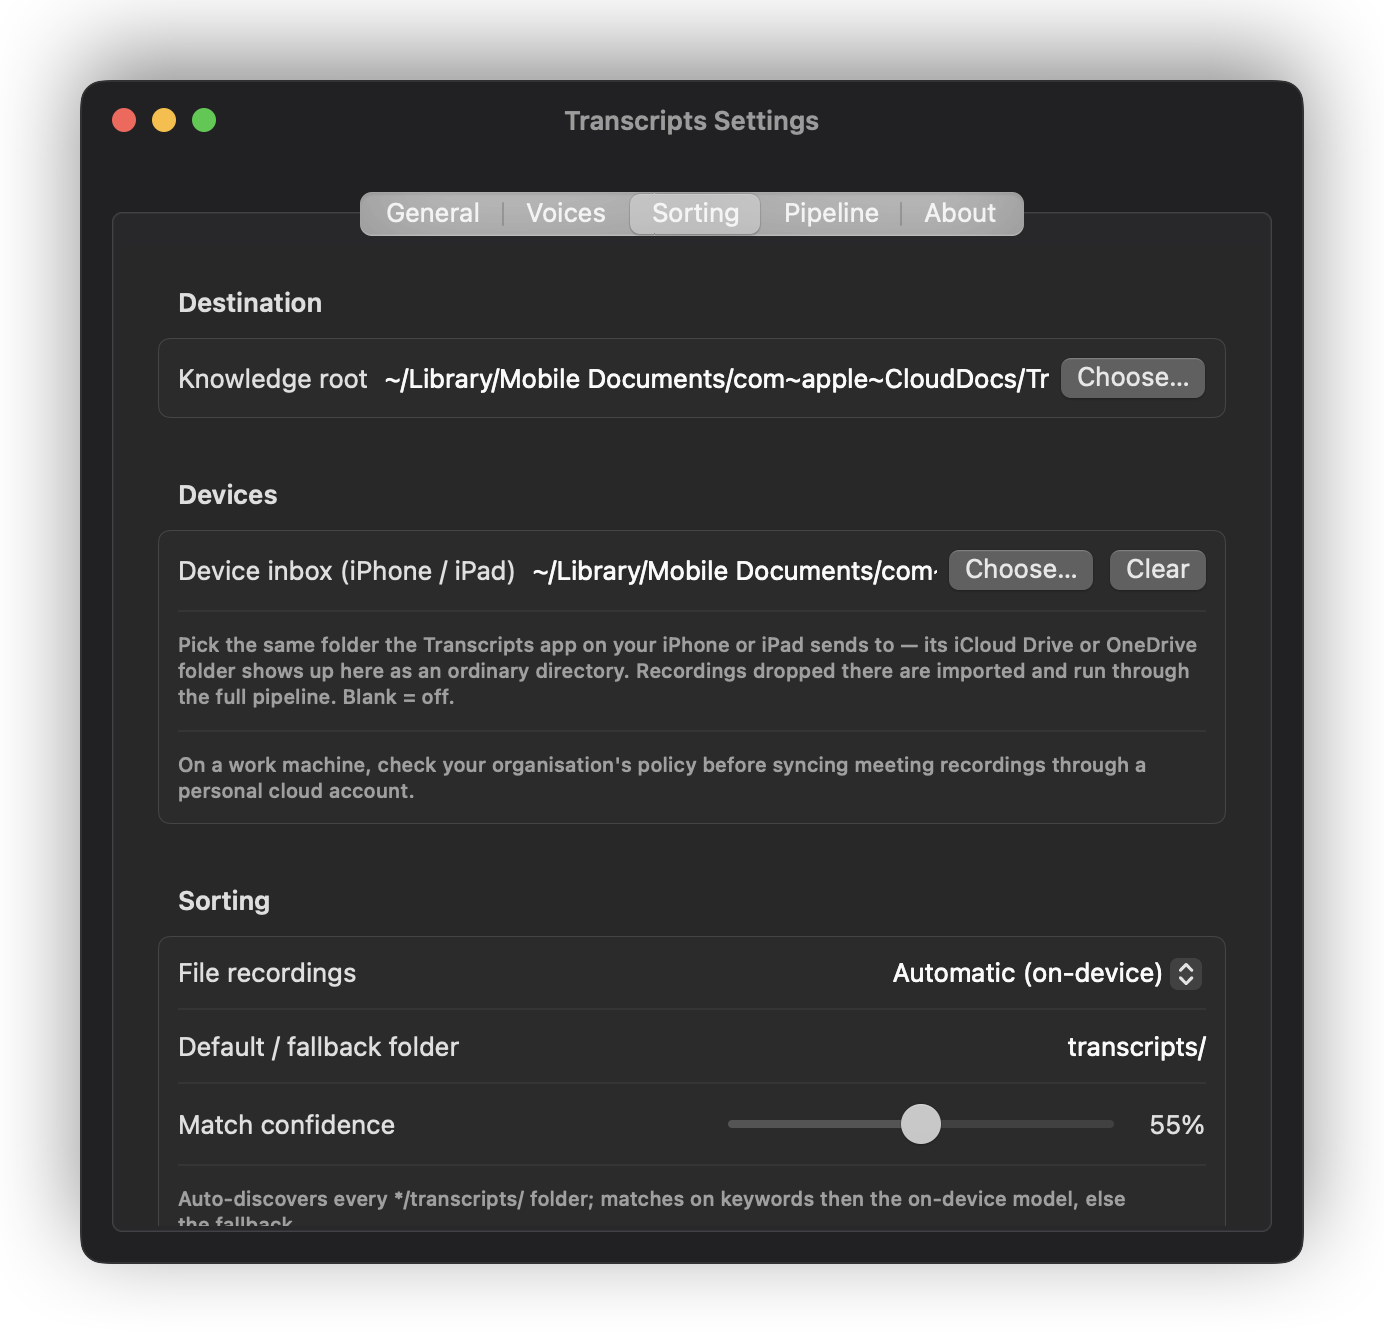
How finished recordings are filed — Automatic, Custom script, or Off. See Your transcripts. The Mac App Store edition has no Custom script.
Pipeline
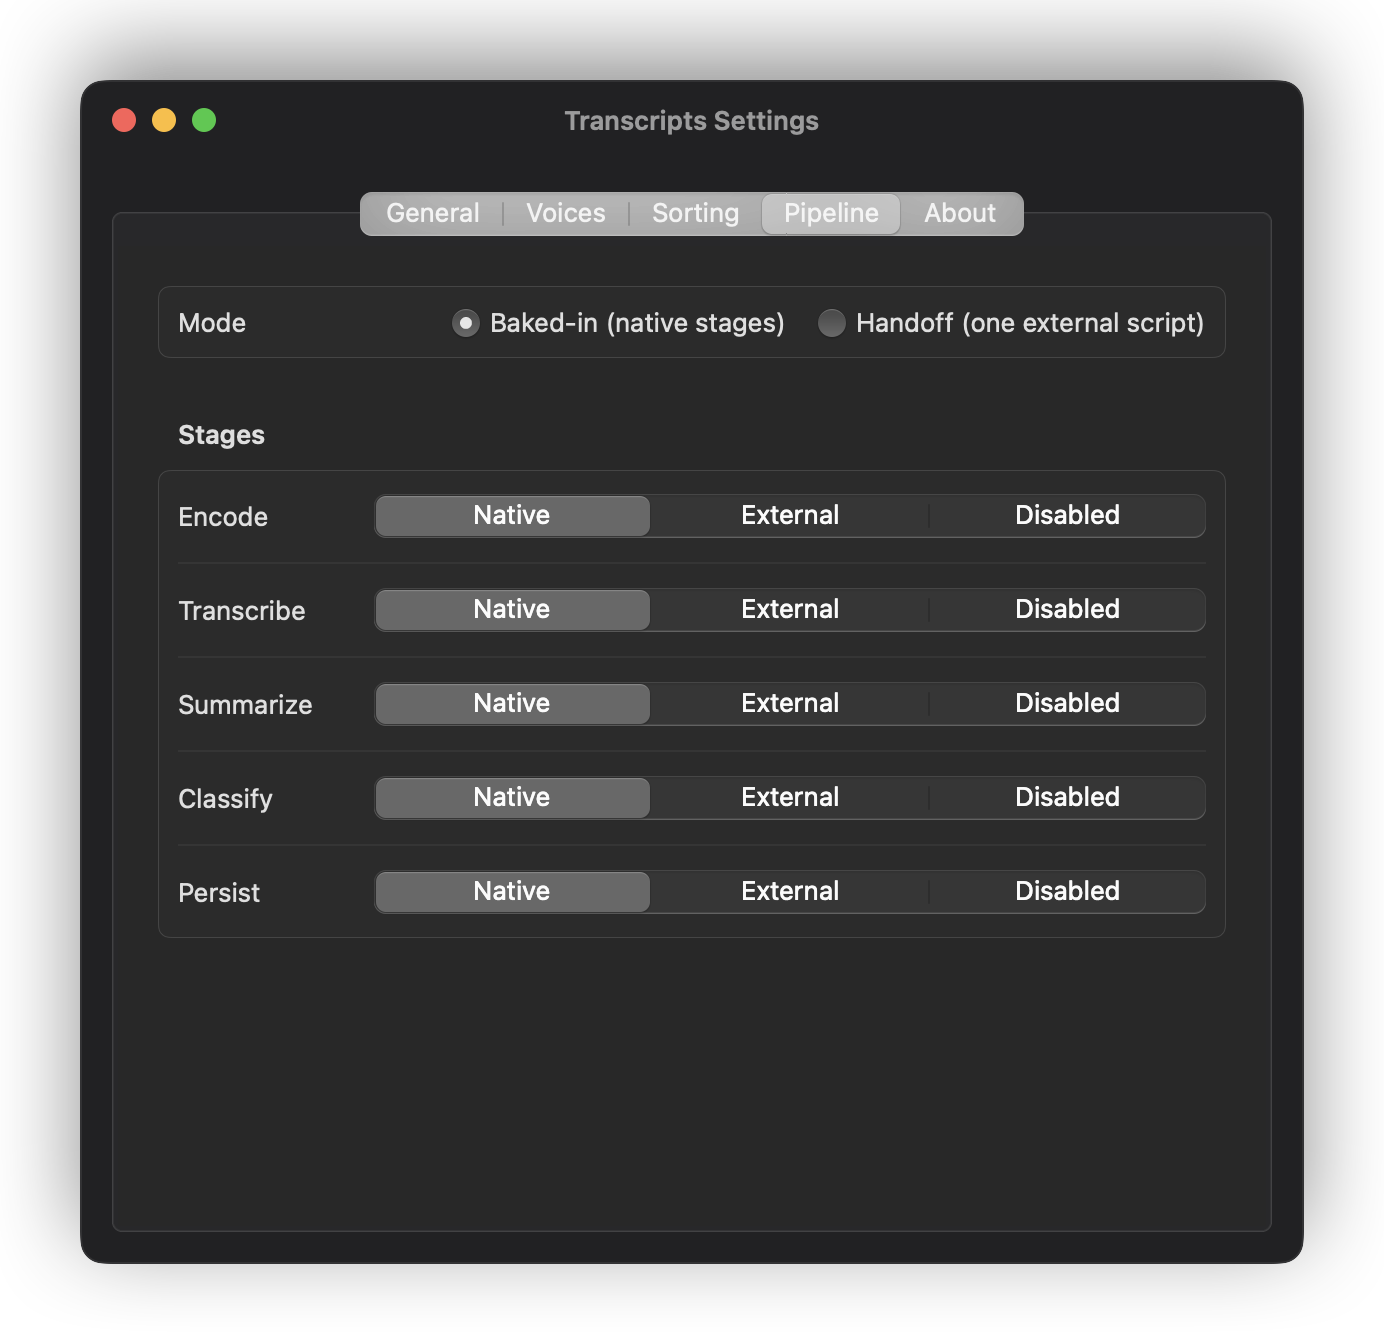
Every recording moves through five stages: encode → transcribe → summarize → classify → persist. This pane shows each one and lets you replace any of them with a script of your own, which receives the recording and returns its result.
Most people never touch this. It exists because the alternative to an escape hatch is a rewrite. The Mac App Store edition cannot run scripts, so there every stage is built in or off, and there is no Handoff mode.
Voices
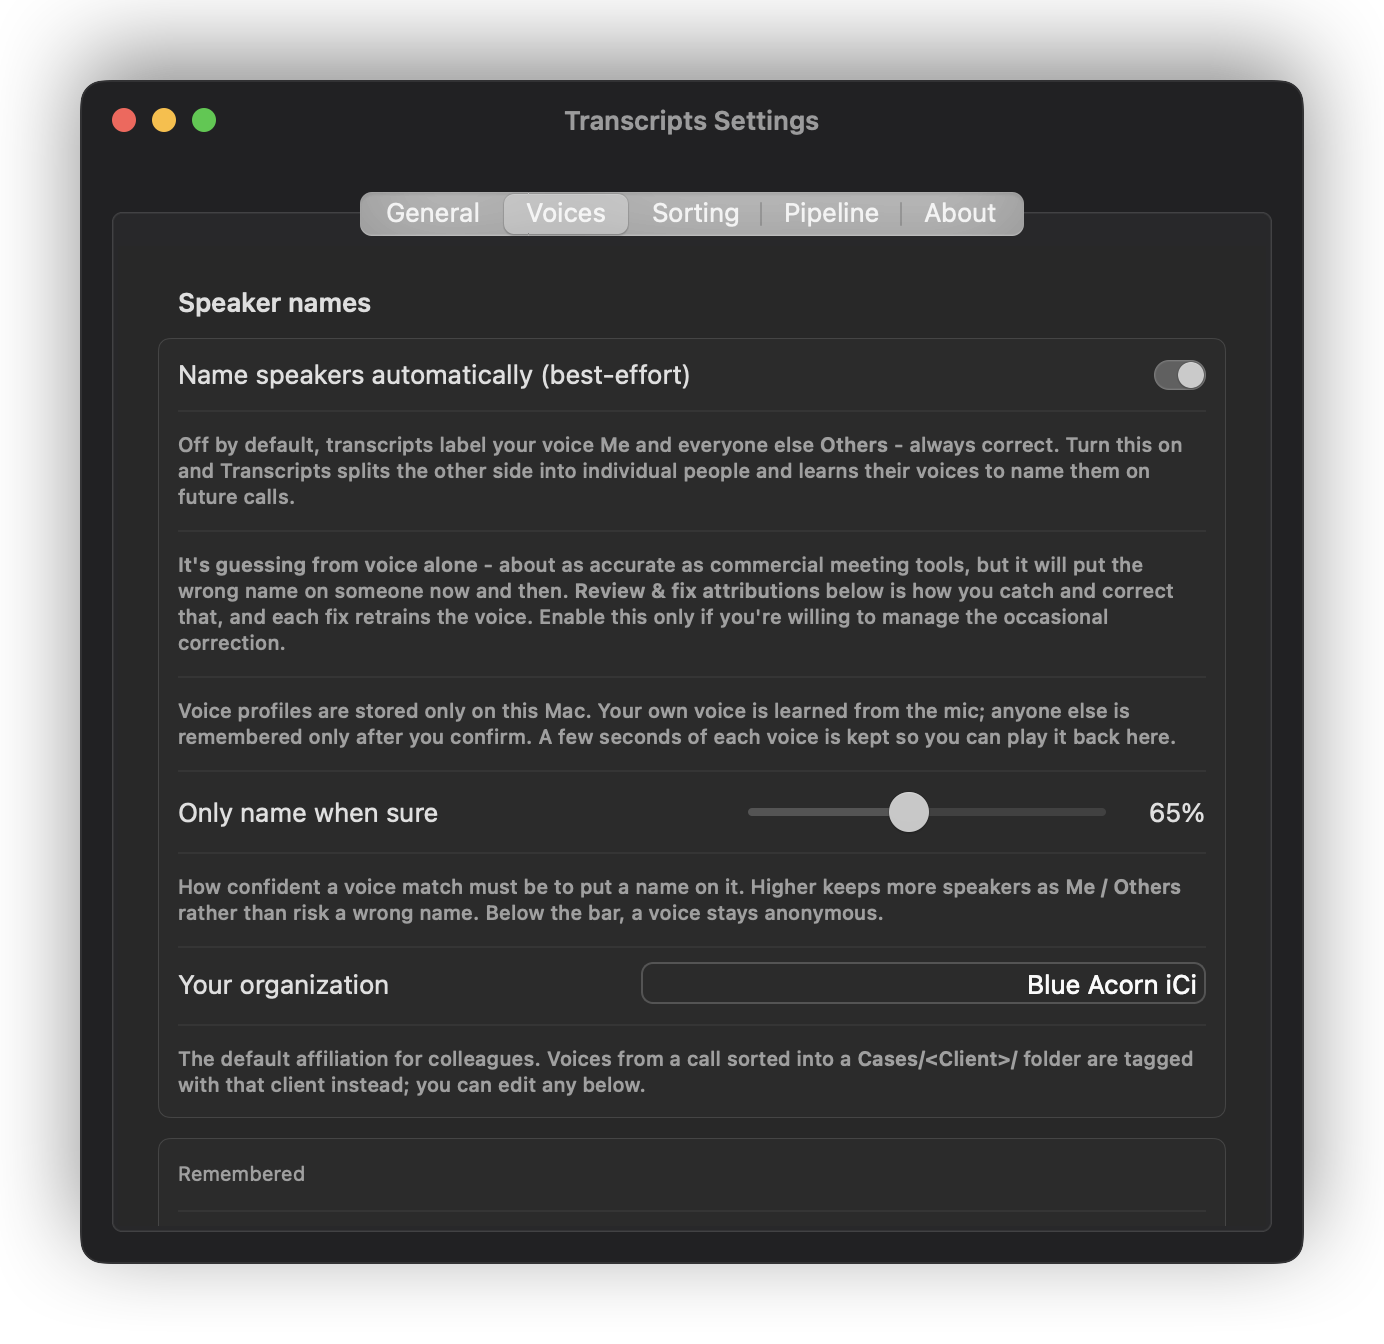
The people Transcripts has learned to recognise, and the recordings each voice was heard in. Rename someone, merge two entries that turned out to be the same person, or reject a bad match — which un-does it in the transcript too, not just in the list.
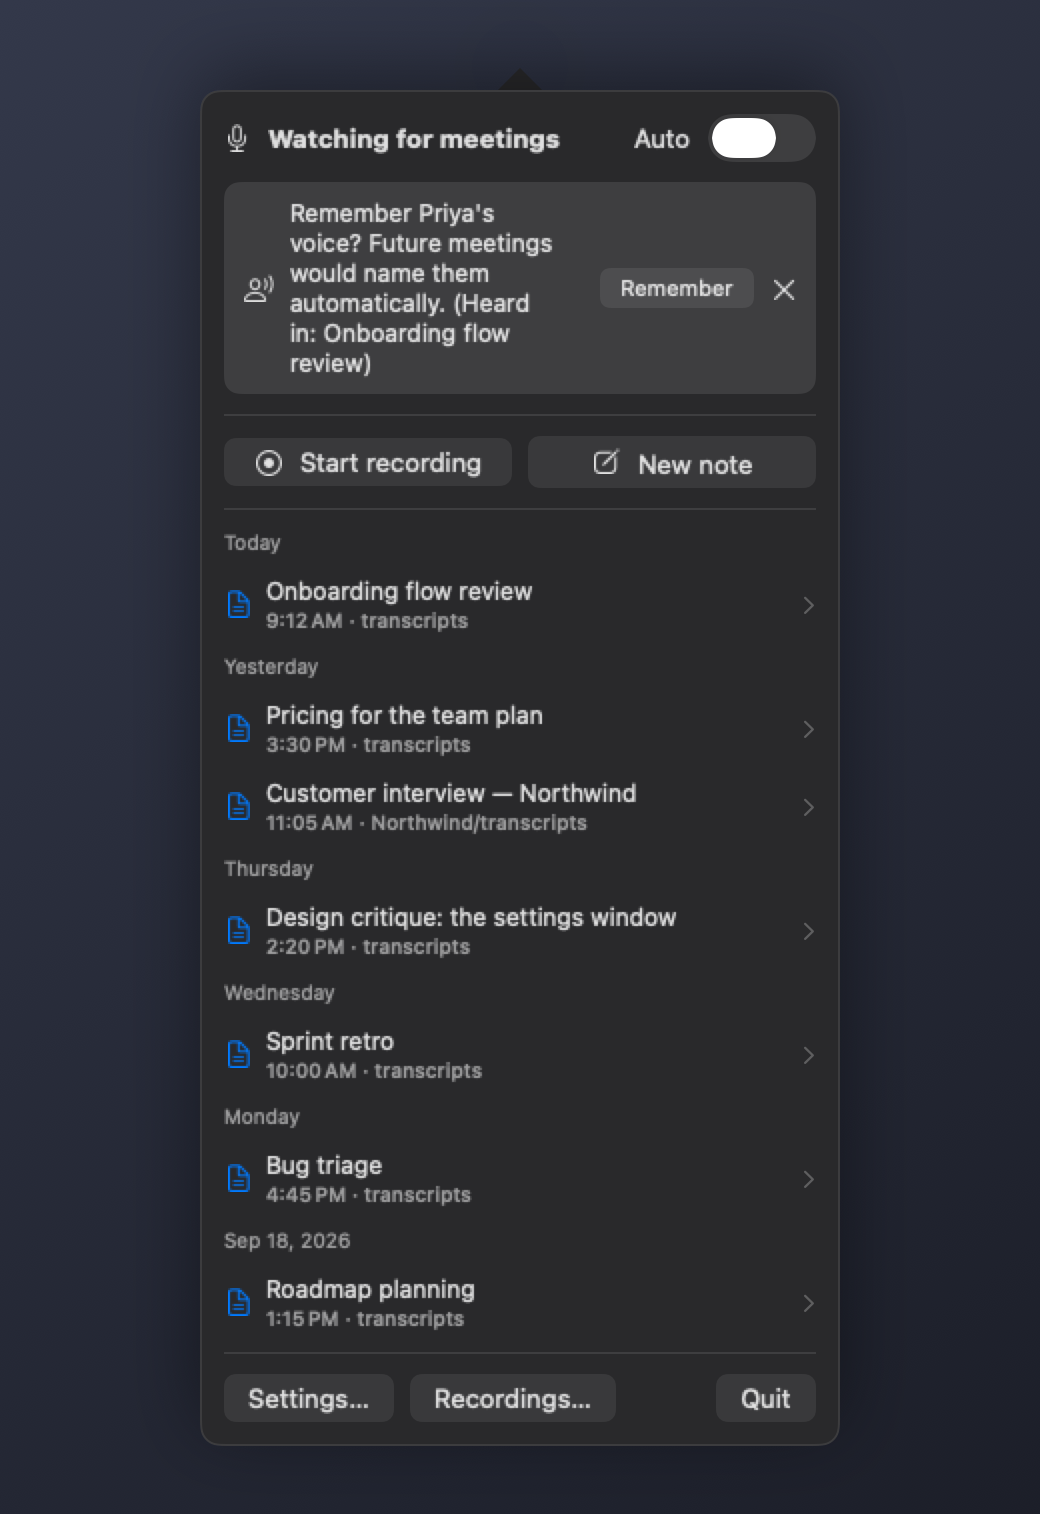
When a recording ends with a voice it does not know, the menu offers to remember it. Say yes and that person is named in every later recording.
About
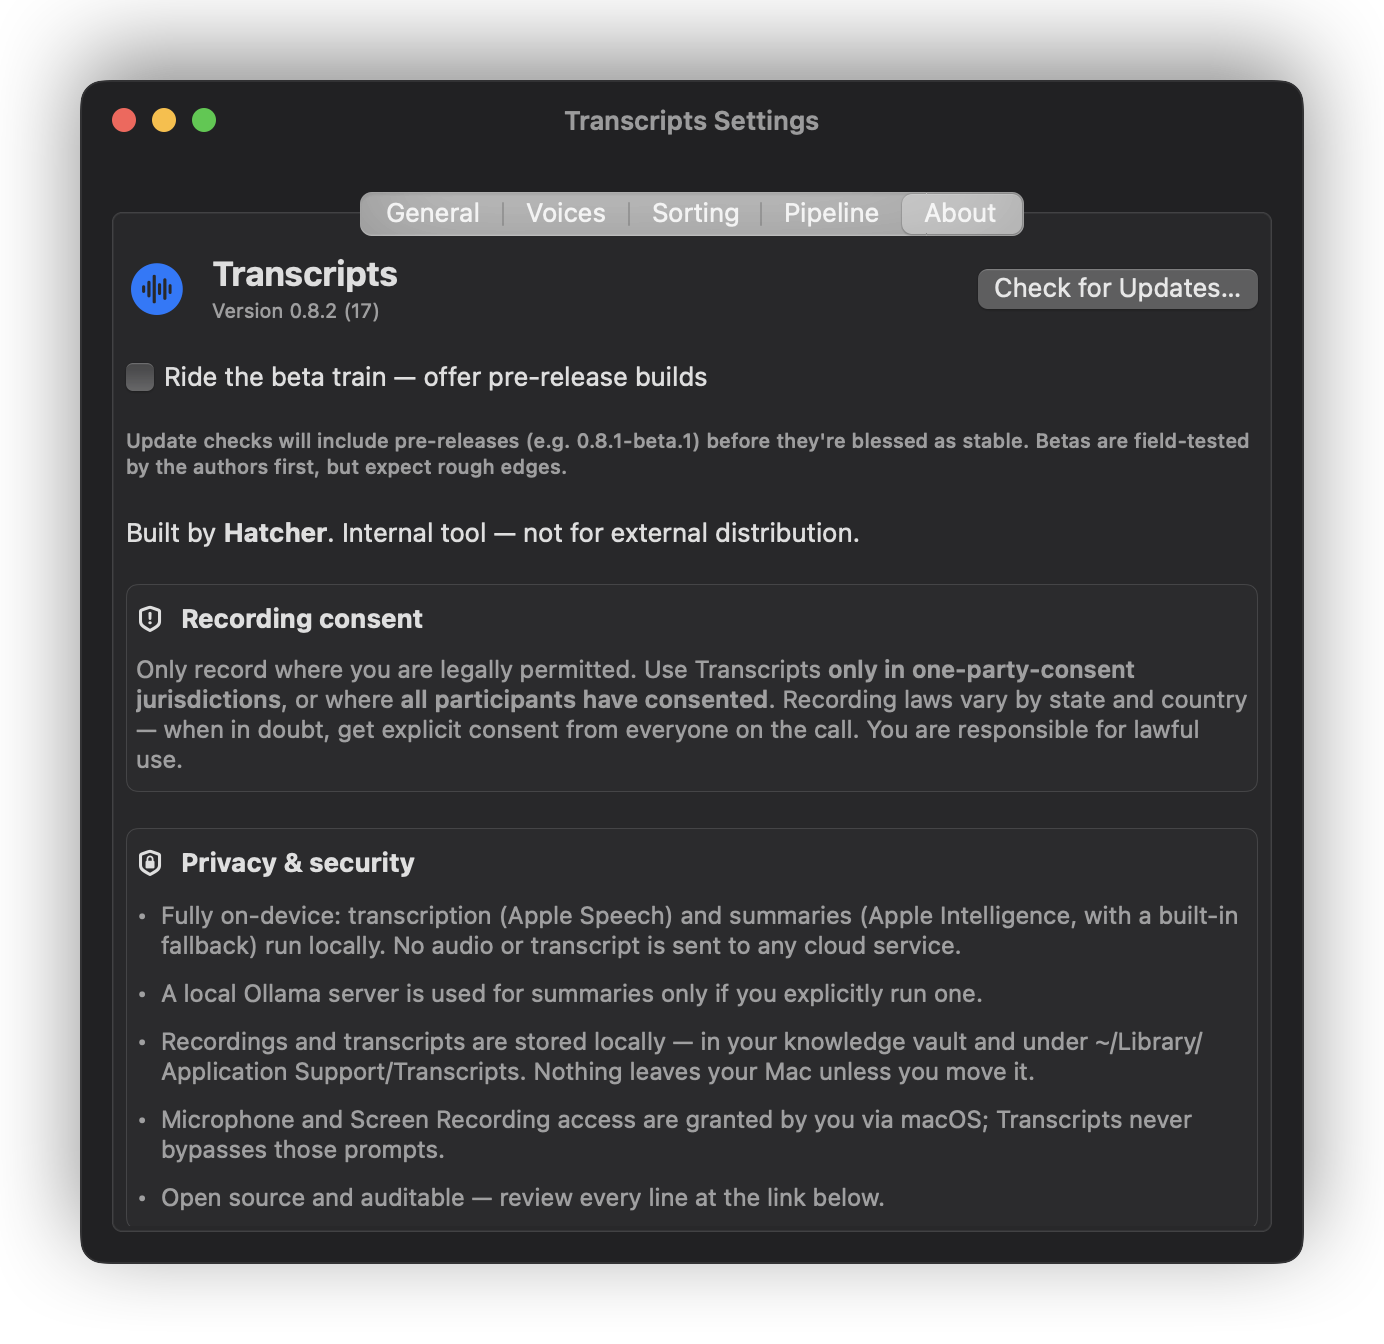
Version, update settings, the consent notice, and what the app does with your data.
Ride the beta train opts you into pre-release builds — ones published for testing before they are blessed as stable. Leave it off and the updater follows stable releases only. The Mac App Store edition shows neither: the App Store updates it.
Next: A worked example